How to Draw BB8. In 1977, we introduced the world to the Star Wars universe, and things would never be the same again!
Also, check our Butterfly Coloring Pages.
Since then, the series has dominated the media with countless movies, TV shows, video games, books, and more.
There was a lot of excitement recently when a new trilogy of films was announced. We introduced many new characters that wowed fans, including the lovable droid BB8.
This rolling character may look simple, but it is littered with small details that make learning to draw BB8 difficult.
How to Draw BB8
Step 1
BB8’s design is simple but effective, which has made BB8 one of the most recognizable creations of recent films.
The difficulty of drawing is in the smaller details, so let’s make it easier by breaking it down.
We’ll start this guide on how to draw BB8 by drawing the outlines of the head and body. First, we draw a big circle for her body.
This can be made much easier by using a tool like a drawing compass. Make sure you leave some room at the top of his head!
Speaking of the head, we can draw this one with a curved line for the top, and then the base lies flat against the body. Once you have drawn these outlines, you are ready for the second step of the tutorial.
Step 2
The internal details and functions will be the most complicated part of this BB8 drawing, so let’s start with this second part. First, draw a small circle near the center of his head.
Next, we’ll draw three flattened circular shapes inside the outline of her body.
As you draw, try to copy them directly as they appear in our reference image, as their shape and placement will be very important later.
So in the third step of the guide, we’ll add some of the finer details.
Step 3
Now you can get started on some of the finer details we covered earlier in this guide to drawing BB8.
These details might seem intimidating, but all the details are drawn with fairly simple shapes once you take a closer look.
First, draw some reflective details in the circle you drew on the face earlier.
We add more detailed circular elements in his head, and then there’s some curved line detail throughout.
There’s no rush, so try to take it slow and repeat all our details in your own time until you’re satisfied!
Finally, draw some simple little antennae from the top of his head, and then we can move on.
Step 4
For this part of your BB8 drawing, we’ll add some finer detail to the body.
These details look quite similar to the details you drew on the head earlier and are mostly contained in the top two circles you drew inside the outline of the body.
We will use many lines and curved shapes inside these circles to make them look very high-tech.
You can connect all of these circles with some lines with small circles going through them to show where they were put together.
Once these details are drawn, the next step is for us to complete the final details.
Step 5
It’s almost time to add some colors in the final step of this how-to-draw BB8 guide, but first, we’ll finish off the last few details.

These details will flow into the last circle you drew near the bottom of his body. They will also be very similar to the details you drew in the other circles and on the head.
You’re ready for the final step once you’ve extracted them, but you can wait to go further!
A fun way to add more to this design would be to draw a background or some extra elements, and this is a great way to add your twist!
What background settings, other characters, or details can you think of to top it off?
Step 6
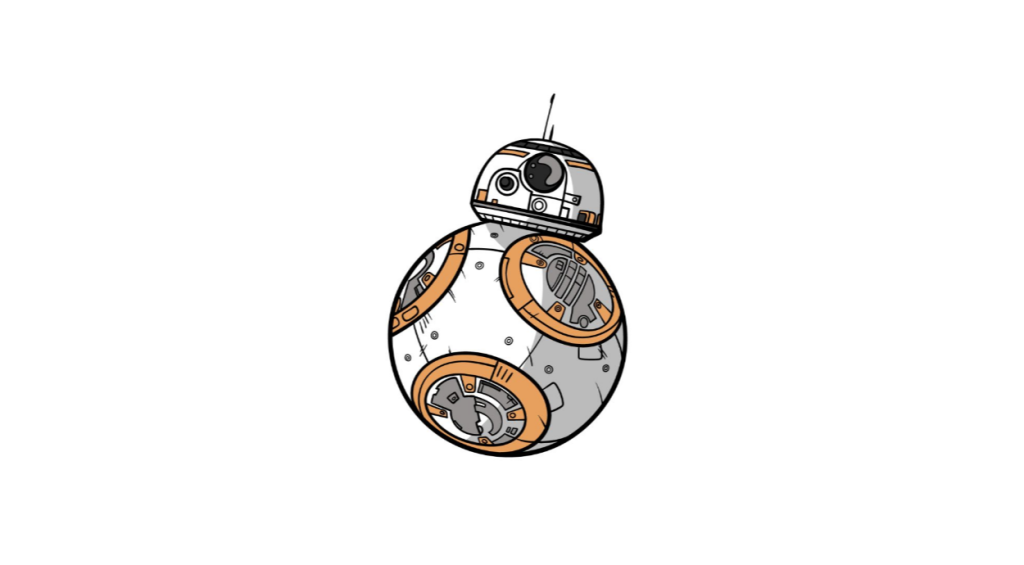
You can finish with some paint at this final stage of your BB8 drawing! BB8’s primary color scheme is white and orange, and we’ve used those colors in our sample image for a screen-accurate look.

We also incorporated darker shades of this and light gray tones to provide shading detail to the image.
Because of this image’s finer details, we recommend using artistic media such as crayons, markers, pencils, or very fine-tipped brushes.
Your BB8 Drawing is Finished!