

How to Draw a Chibi Loki
In Norse folklore, Loki was “a cunning hoaxer who could alter his shape” and even his gender. He was the son of a giant and thought of one of the deities, the god of fire. He became the father of the goddess of death a giant snake, a wolf, and an eight legged horse.
Since 1949, Loki has also been an antihero or villain in the Marvel Comics universe. He was the adoptive brother of the superhero Thor. Loki made the epithet “divinity of mischief” and toiled against the stakes of Asgard.
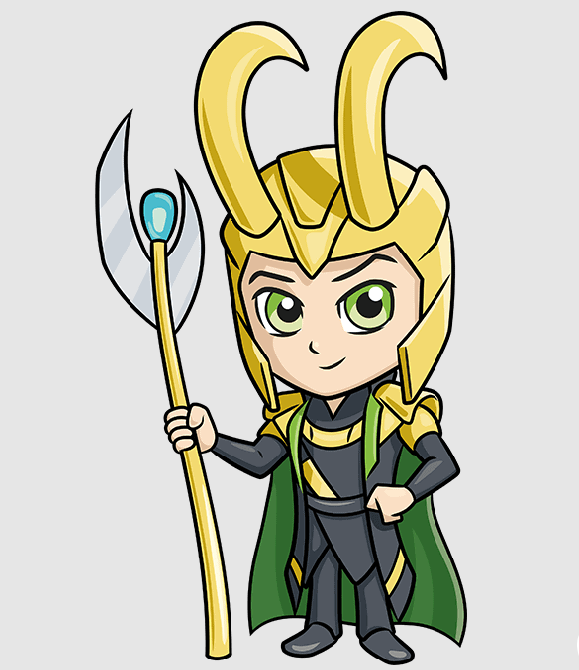
This Marvel’s Loki drawing tutorial is in chibi style. This “cute” art style deforms characters to look like children, with tiny bodies, large heads, and large eyes. This is done for Marvel’s Loki, who was hidden away by his biological papa, Laufey, King of the Frost Giants, due to his small size. Would you like to draw a cute chibi comic of Thor’s brother Loki? This easy step-by-step supervillain picture tutorial is here to lead you through how. All your choice requires is a pencil, an eraser, and a report sheet.
Also read: house drawing for kids
Step-by-step instructions to draw a Chibi Loki
Step 1
Start by drawing the details of Loki’s face. He outlines the eyes with curved lines. Then draw several successively smaller circles—shade between the two smaller ones to indicate the pupils. Use curved stripes to draw the eyebrows, nose, and chops.
Step 2
Use curved lines to draw the sharp outline of the mask around the face. Then draw the curved rectangular flanks of the helmet that protect the cheeks. Draw a straight vertical line through each one to give it a three-dimensional look. Then extend the lines up to draw the sides of the hull.
Step 3
Above the face, extend two sets of curved lines, so they meet at one point. Connect them at the bottom. These are the horns of the helmet. Use curved lines to draw the outline and details of the helmet, noting the triangular bulge on the forehead. Erase as needed.
Step 4
Use curved lines to start drawing Loki’s clothes. Use extended, curved lines to outline the primary figure of the coat. Then detail the shoulders and neck with additional curved lines.
step 5
Draw pairs of curved stripes near the bottom of the skin. Then, detail the clothing seen inside the coat. Draw a line in a “V” shape to form the neck and draw pairs of lines across the torso, some horizontal and some diagonal. Detail these with additional lines.
Step 6
Draw Loki’s arm, erasing as needed. Use curved lines to outline the sleeve first, then the upper arm, forearm, and cuff.
Step 7
Draw the remaining arm. Again initiate with the sleeve and then use teams of lines for the cape. Note the short line indicating the elbow dimple. Use curved lines and narrow overlapping ovals to draw the hand and fingers.
step 8
Draw “V” shaped lines between the coat’s sides to indicate the tunic’s bottom. Draw pairs of curved lines to form the shanks and attach them at the bottom. Use a “U” shaped line to enclose each shoe.
step 9
Use curved lines to draw the rectangular shape of Loki‘s cape. Extend similar lines above and below his fist, and connect them at the ends, forming the team. Decorate the cane with a rounded shape on its top and curved triangles along its sides.